

Spellbinders Small Die & Embossing Folder of the Month, Jan 2023

Disclosure: Where available I use compensated affiliate links which means if you make a purchase, I receive a small commission at no extra cost to you. Thank you so much for your support!
This post which includes a video shows how I create a five cards with Spellbinders Small Die of the Month, Jan 2023. All five cards are pretty much the same but it is the colour combinations that takes the longest to decide. All backgrounds use the Spellbinders 2D Embossing Folder, Stylized Trellis from Jan 2023.
Check out the video below.
Basic steps for the cards
Choose colours for the flowers and foliage.
Die cut and adhere the elements of the flowers together with liquid glue.
For the sentiments, line up the sentiment and sentiment shape die, and run through die cutting machine. Check out my subsequent videos to see how I use these sentiment dies differently.
The background is from the Spellbinders 2D embossing folder, Jan 2023, Stylized Trellis. I use the debossed image and lightly rub the pigment ink (Black, Green, Pink, Purple, Blue) over it - what a lovely result!
Since I use a slightly larger card (than the card base) to emboss the card panel, trim embossed card panel to card base size and adhere to card base with double-sided tape or back card panel with fun foam (for dimension) and adhere to card base with double-sided tape.
Then adhere the ampersand, flowers, foliage, and sentiment with liquid glue, foam strips, foam squares or layer with additional die cuts for dimension.
Finish card with gems, attached with a gem picker tool and liquid glue.
Card #1


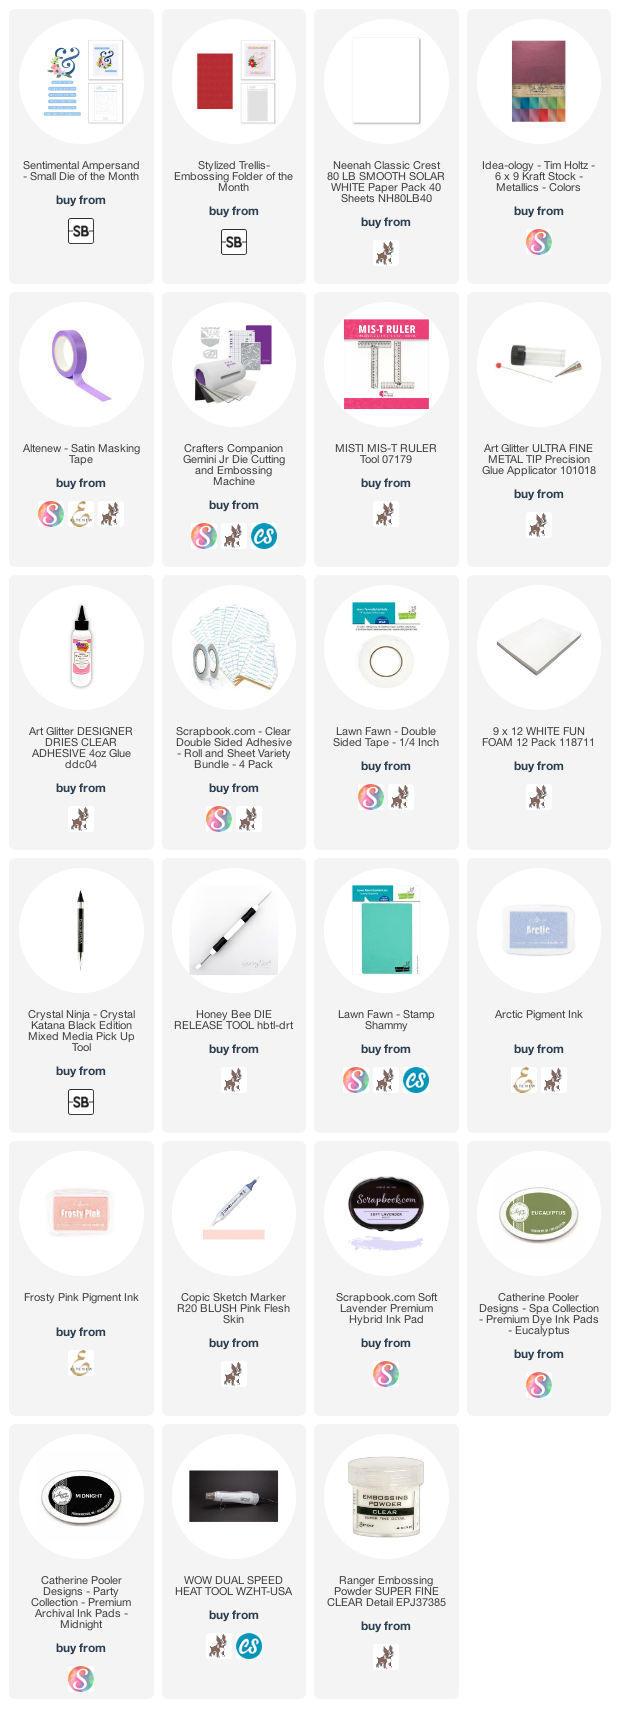
Products used:
Anna Griffin Purple Pigment Ink Pad (I used this ink in card above, but as unable to find this ink anymore, I suggest another ink pad below)
Scrapbook.com Soft Lavender Pigment Ink
Die cut ampersand, apply pink pigment ink on the die cut, and sprinkle clear embossing powder. Warm up heat tool for 30 seconds, and melt embossing powder. Repeat one more time so there are two layers of clear embossing powder.
For the sentiment, apply pink pigment ink on a card, sprinkle clear embossing powder. Warm up heat tool for 30 seconds, and melt embossing powder. Repeat one more time so there are two layers of clear embossing powder. Then place sentiment die and die to cut out the sentiment strip and run through die cutting machine.
Card #3


Products used:
Anna Griffin Pink Pigment Ink Pad (I used this ink in card above, but as unable to find this ink anymore, I suggest another ink pad below)
Altenew Frosty Pink Pigment Ink
Card #4


Products used:
Catherine Pooler Eucalyptus Dye Ink Pad
The pink of the sentiment and on the flowers are made with Copic marker R20.
Disclosure: Where available I use compensated affiliate links which means if you make a purchase, I receive a small commission at no extra cost to you. Thank you so much for your support!
Thank you for stopping by and hope you have fun crafting. Would love to hear any comments/ideas that you may have.