

Christmas Cards with Snippets or Scraps

Theme: Snippets (a.k.a. scraps - could be great for upcycling cards/tags/paper from Christmas, perhaps? If you're not sure about how to best utilise snippets, there's a great challenge called Pixie's Snippets Playground which is all about doing exactly that, and may be able to inspire you!)
Disclosure: Where available I use compensated affiliate links which means if you make a purchase, I receive a small commission at no extra cost to you. Thank you so much for your support!
This post which includes a video shows how I use strips of coloured cardstock to create three cards. I created these cards for the Christmas Craft Creations January 2023 challenge which has a theme of Snippets this month. The deadline for entering is Tuesday, February 7th, 2023 at 6pm GMT.
I store my scraps by colour family in a rainbow tower of drawers and this allows me reach for scraps by colour easily, especially when die cutting Spellbinders die sets. I sort my card strips in a deflecto cube.
There are three main techniques I used with the card snippets/scraps.
Card strips used to cover a die cut silhouette from the back
Card strips used to cover an entire card panel and embossed
Card scraps used to die cut small dies
Check out the video below.
Card #1

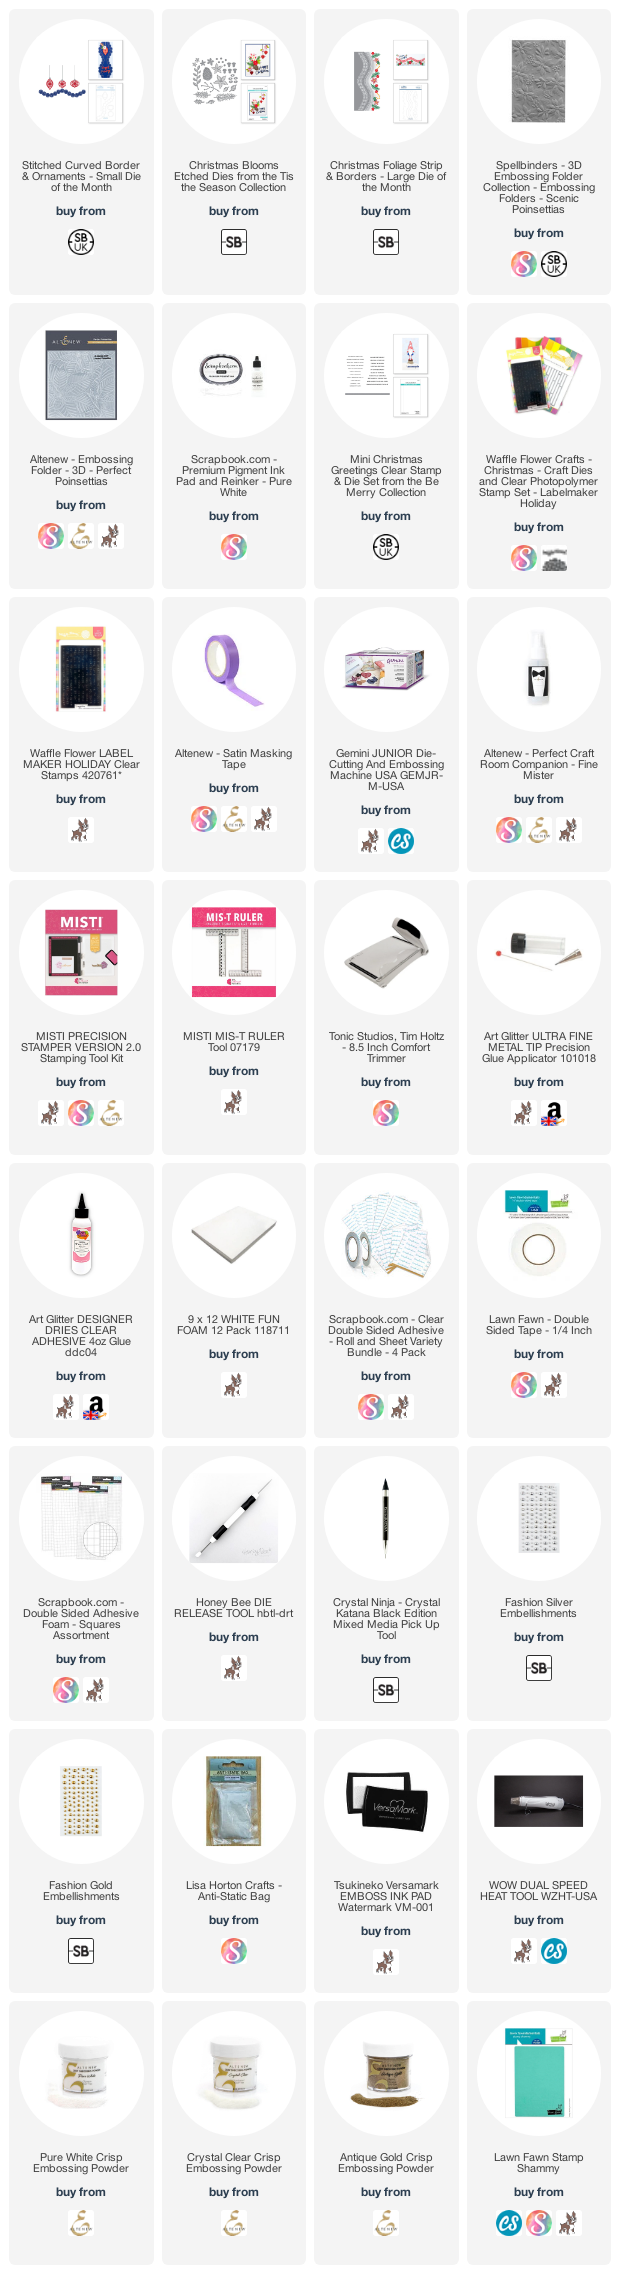
Place the outline ornament dies from Spellbinders Small Die of the Month, Nov ‘21, Stitched Curved Borders & Ornaments, on a Neenah Solar White 80lb cardstock and secure with satin masking tape. Turn card panel and attach double-sided tape around the shape of each of the three ornament shapes.

Place card strips across the opening of the die cuts in colour families and at different angles for each of the ornaments. Attach the dies cuts for the ornament toppers and strings (use a T-ruler to attach it straight) with lquid glue. Back the card panel with fun foam using double-sided tape and attach to a dark grey side folding card base.

Stamp ‘Christmas Greetings’ from Spellbinders Mini Christmas Stamp on grey cardstock with clear embossing ink after treating cardstock with anti-static powder. Sprinkle white embossing powder on stamped sentiment and melt embossing powder with heat tool. Trim sentiment into card strip and layer a couple of card scrap strips with liquid glue behind the sentiment for sturdiness and dimension.
Finish card with a sprinkling of Spellbinders Fashion Silver embelishments with liquid glue and a gem picker tool.
Card #2

Cover a thin copier paper (slightly smaller than the card base) with double-sided tape or adhesive sheet. Gather or line up strips of cards with colours of your choice. Attach card strip to the adhesive on the card panel. Once the card is completely covered with card strips, use a guillotine and trim the card strips sticking out on the edge of the card panel.
Spritz a fine mist of water with a Fine Mister on the back of the card panel, so the card fibres are softened before being embossed. Place the card panel into Spellbinders Scenic Poinsettias 3D embossing folder and run it through an embossing machine with an appropriate ‘sandwich’ for a 3D embossing folder.

Gently and lightly swipe white pigment ink on the embossed card panel, inking the high points of the embossed image. This will highlight the image beautifully, highlighting the image more clearly. Use scraps and die cut poinsettias and leaves from Spellbinders Christmas Bloom die set.
The sentiment is from Waffle Flower Holiday Labelmaker combo which was stamped with blue pigment ink, and heat embossed with clear embossing powder and then die cut with coordinating die. Attach sentiment with liquid glue on card front. Attach the two layered poinsettias with liquid glue and 3D foam squares respectively and attach leaves, as appropriate.

Use a gem picker tool and liquid glue to attach Spellbinders Fashion Silver embellishments on poinsettia centres and card front. Though the Spellbinders Fashion Silver embellishments are backed with adhesive, add liquid glue to ensure it withstands the postal journey.
Card #3


The steps for Card #3 is very much like that for Card #2, except for the following: Stencil used is Altenew Perfect Poinsettias 3D embossing folder, the sentiment is heat embossed with antique gold embossing powder, and the gems are Spellbinders Fashion Gold embellishments.

Disclosure: Where available I use compensated affiliate links which means if you make a purchase, I receive a small commission at no extra cost to you. Thank you so much for your support!
I hope you will join us for this fun challenge theme this month! Thanks for stopping by.