

CRAFT Challenge, Winter - Three ways to use a sentiment digital stamp

Three cards using the Blizzard of Thanks Greeting from DRS Designs
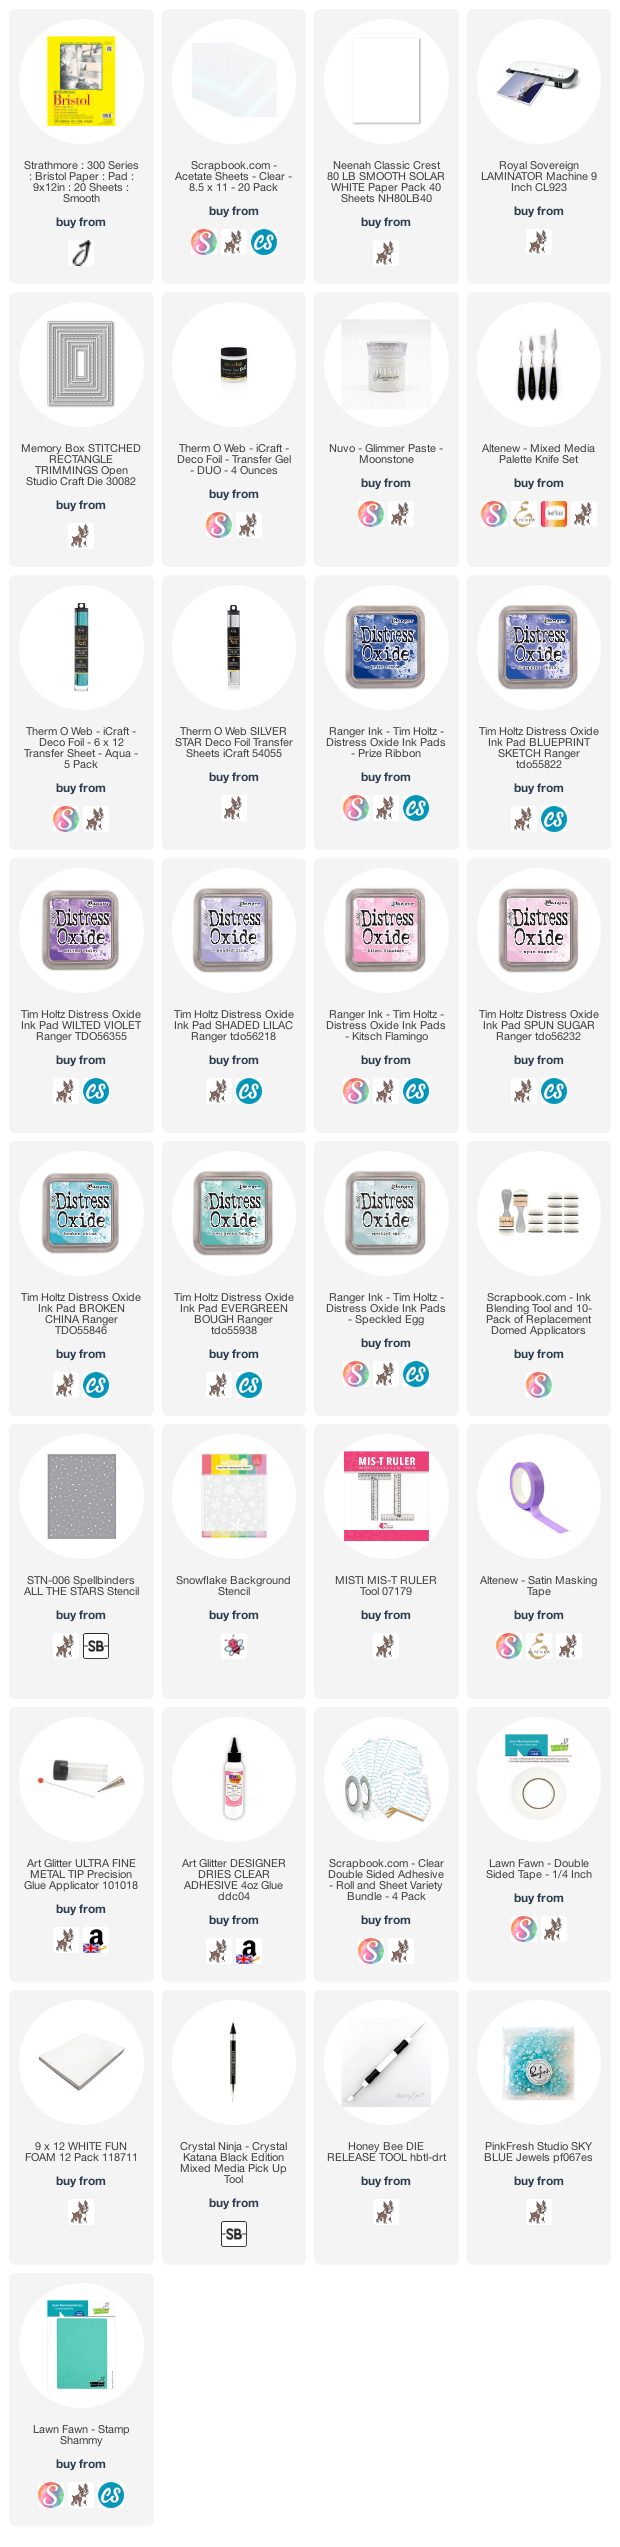
Disclosure: Where available I use compensated affiliate links which means if you make a purchase, I receive a small commission at no extra cost to you. Thank you so much for your support!
This post which includes a video shows how I foil with and without a laminator using the Blizzard of Thanks Greeting digital stamp from DRS Designs as part of CRAFT Challenge #666, which has a Winter theme. I use a very old laminator to foil after printing the digital stamp on Bristol Smooth Card, acetate, and Neenah Solar White 80lb cardstock with the aid of a laser printer. Also I employ the foil resist technique where the distress oxide ink resists foiling.
I combined foling with distress oxide inking. I refer to my very handy distress oxide ink swatches, so I can pick colours easily and do not have to test them all the time prior to use.


Check out the video below.
Disclosure: Where available I use compensated affiliate links which means if you make a purchase, I receive a small commission at no extra cost to you. Thank you so much for your support!
Card #1 - Foiling with Transfer Gel (no heat)

Print the Blizzard of Thanks Greeting digital stamp on Neenah Solar White 80lb cardstock with a laser printer. The print setting for this is a photo size of 2” by 3”. Note: All printers have different options of setting, this is the setting required for the Brother laser printer that I use. Turn on laminator to heat up and be ready. Cut the Silver Star Deco Foil with a quick trimmer to the size of the printed image. Place piece of trimmed to size Silver Star Deco Foil (pretty/shiny side up) on printed image and place into a folded sheet of copier paper, which will serve a a carrier sheet. Run through carrier sheet which holds the printed image and Silver Star Deco Foil through the laminator. Tip: I used a very old and cheap laminator, so I had to run the carrier sheet through the laminator five times! However if you have a new laminator, once or twice should do the trick. Trim sentiment with Memory Box Stitched Rectangle die. Die cut an additional two rectangles to layer the sentiment for some dimension.

For the background, ink blend distress oxide inks, Spun Sugar, Shaded Lilac, and Blueprint Sketch, with ink blending tool with domed foams on Bristol Smooth Card. Then lay Waffle Flower Snowflake Background Stencil on ink blended card panel and secure on the back with satin masking tape. On the stencil with ink blending tool with domed foams apply distress oxide inks, Kitsch Flamingo, Wilted Violet, and Prize Ribbon.
Once ink is dry, place Spellbinders All the Stars stencil on card panel, and apply Deco Foil Transfer Gel Duo with a palette knife. The gel goes on white. Remove stencil (and wash stencil immediately or soak in soapy water, so stencil is not ruined) and leave aside card panel to dry for at least for an hour until it is clear. Cut the Silver Star Deco Foil with a quick trimmer to size of the card panel. To transfer the foil - can either use the heat method with the laminator or without heat, use pressure and run it through a die cutting machine. I used the latter method and transfer foil to card panel.

To assemble card: (1) Trim ink blended and foiled card panel to slightly smaller than pink A6 card base and back card panel with fun foam using double-sided tape. Attach fun foam backed card panel to pink card base. (2) With the aid of a T-ruler and liquid glue place die cut foiled sentiment to centre of portrait orientation of card. Adhere snowflake die cuts from silver metallic card with liquid glue on to card front. Finally finish card with gems using a gem picker tool and liquid glue.
Card #2 - Printing on acetate to make a shaker card

Print the Blizzard of Thanks Greeting digital stamp on acetate with a laser printer. The print setting for this is a photo size of 2” by 3”.
For the background, ink blend distress oxide inks, Speckled Egg, Evergreen Bough, and Broken China, with ink blending tool with domed foams on Bristol Smooth Card. Then lay Waffle Flower Snowflake Background Stencil on ink blended card panel and secure on the back with satin masking tape. On the stencil with a palette knife apply Nuvo Glimmer Paste Moonstone. Leave aside card panel to air dry.

Once dry, trim card panel to slightly smaller than card base. Temporarily adhere card panel to acetate printed with sentiment, and cut down acetate with a border, so it can be folded to back of the card panel. Cut each corner at an angle for a mitered corner. Attach double-sided tape to the edges of the card panel on the back. Remove the backing of the double-sided tape on three sides of the card panel, and fold over the acetate, using a bone folder to create a firm crease. On the one open side, insert some sequins or any shaker embellishments of your choice, and seal opening in the same way as the other three sides. That’s the shaker element completed.

Attach double-sided tape to the back of the shaker element and affix to the card base. The shaker card is complete and the shine from the glimmer paste and sequins through the acetate looks incredible.
As the shaker element is quite heavy, the card could be lop-sided. To balance it out add a thick card in the inside of the card to make the card more sturdy and easy to stand it upright.
Card #3 - Foil Resist

Print the Blizzard of Thanks Greeting digital stamp on Bristol Smooth Card with a laser printer. The print setting for this is a photo size of 100 x 148mm. Same steps as Card #1 to to foil the laser printed image that is activated by the toner. Foil used is Aqua Deco Foil.

Place Waffle Flower Snowflake Background Stencil on foiled card panel and secure on the back with satin masking tape. On the stencil, apply distress oxide inks, Speckled Egg and Broken China with ink blending tool attached with domed foams. Remove stencil and place Spellbinders All the Stars stencil on card panel, and apply distress oxide ink, Evergreen Bough with ink blending tool with domed foams.
Use a dry cloth and with the ink on the foiled areas as it would have resisted the ink - hence the name of the technique, foil resist!

Trim ink blended and foiled card panel to slightly smaller than A6 card base and back card panel with fun foam using double-sided tape. Attach fun foam backed card panel to card base. Finish card with gems using a gem picker tool and liquid glue.
Disclosure: Where available I use compensated affiliate links which means if you make a purchase, I receive a small commission at no extra cost to you. Thank you so much for your support!
Thank for stopping by and happy crafting!